

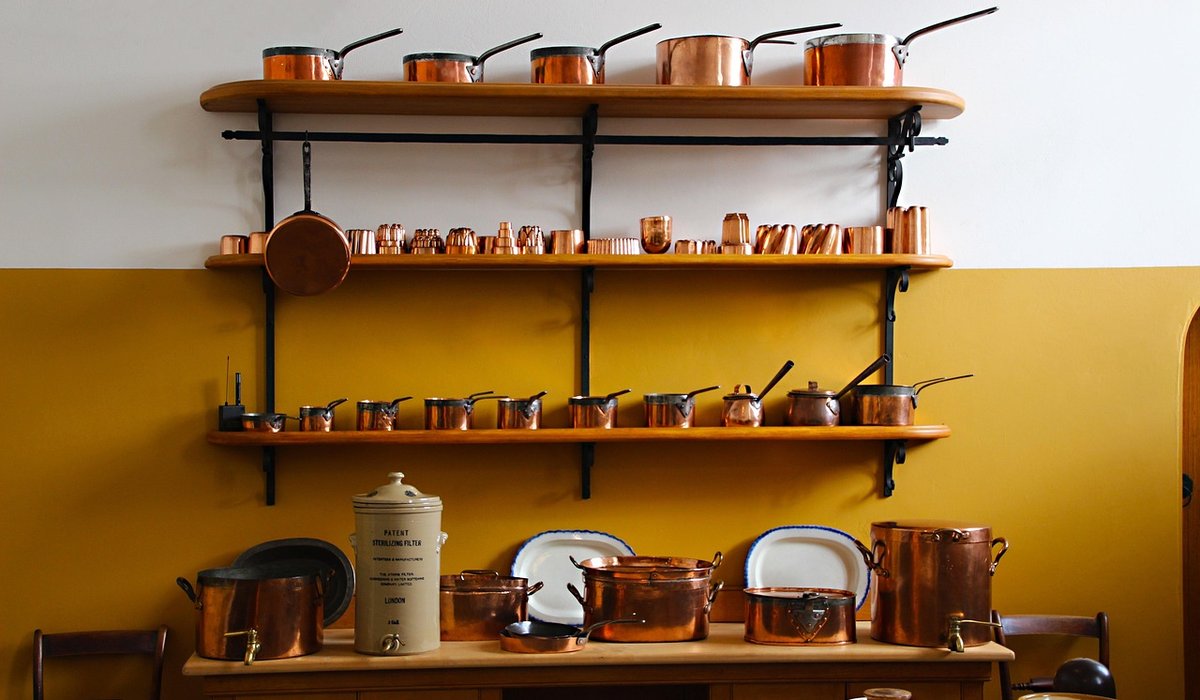
Copper has a quality that few other metals match in a kitchen. It throws a warm, honeyed light back into the room rather than a cold gleam, and it ages into something with genuine character. Above an island, that warmth does real work: it softens what can otherwise be a hard, reflective space full of gloss units, quartz and stainless steel.
Pendant lights over an island are not just decoration. They are the primary task lighting for chopping, reading recipes and plating up, and they carry the visual weight of the whole room. Get the height and spacing right and they will feel as though they have always been there. Get them wrong and you will spend every evening squinting past a bulb and dodging a shade with your forehead.
The standard starting point is 75–90cm (30–36 inches) between the worktop and the lowest point of the shade. That range suits most people and most ceilings, but it is a starting point, not a rule.
If you have a breakfast bar with stools, the shade should sit high enough that nobody’s eyeline meets the bulb when seated. Sit on a stool, look straight ahead, and check the shade is above your sightline, not in it.
Odd numbers almost always look better. Two pendants over a long island can look like a pair of eyes; three or five read as a deliberate arrangement.
A reliable formula for round shades is to work in thirds. Divide the island length by the number of pendants plus one, then hang each shade at those points. For a 2.4m island with three pendants, you would place them at roughly 60cm, 120cm and 180cm along the run.
As a guide to size and spacing:
If your island is short, one larger pendant is bolder and more practical than two cramped ones. If it is very long, consider five smaller shades rather than three oversized ones.
Glare is the most common mistake with pendants. A bare bulb in a polished copper shade is a mirror, and from the wrong angle it is genuinely uncomfortable.
Copper sits happily alongside brass, blackened steel and matt black hardware, but it fights with bright chrome. If your taps and handles are polished chrome, consider aged or brushed copper pendants rather than high-shine ones.
Think about the patina you want. Lacquered copper stays bright and is easier to keep clean; unlaquered copper will darken over time and develop a living finish. Neither is better, but the second asks more of you and rewards it.
Before committing to holes in the ceiling, mock it up. Cut cardboard circles to the shade diameter, tape them to broom handles, and have someone hold them in position while you stand back, sit down and walk past. Check the pendants clear the island’s overhang, do not clash with extractor hoods or ceiling beams, and remain centred on the worktop rather than the room.
Finally, confirm your ceiling has a joist or suitable fixing where each pendant will hang, and that all shades sit on the same circuit with one dimmer. A small amount of planning now means years of warm, even light exactly where you need it.

Copperedit We spend our time finding what works so you don't have to, and sharing exactly what made the difference.

Copperedit We spend our time finding what works so you don't have to, and sharing exactly what made the difference.

A copper pipe towel rail is a manageable weekend project. Follow safe cutting, fixing and polishing steps for a sturdy hallway or bathroom piece.

Comments
ALina Kelian
19th May 2018 ReplyCopperedit An honest, everyday look at the things that make life a little better — with advice you can actually use. ullamco laboris nisi ut aliquip ex ea commodo consequat.
Rlex Kelian
19th May 2018 ReplyCopperedit No rushing, no fuss — just thoughtful notes and practical help, written by people who care. ullamco laboris nisi ut aliquip commodo.
Roboto Alex
21th May 2018 ReplyCopperedit Real stories, useful guides and the occasional recommendation, all in one calm corner of the web. ullamco laboris nisi ut aliquip ex ea commodo consequat.